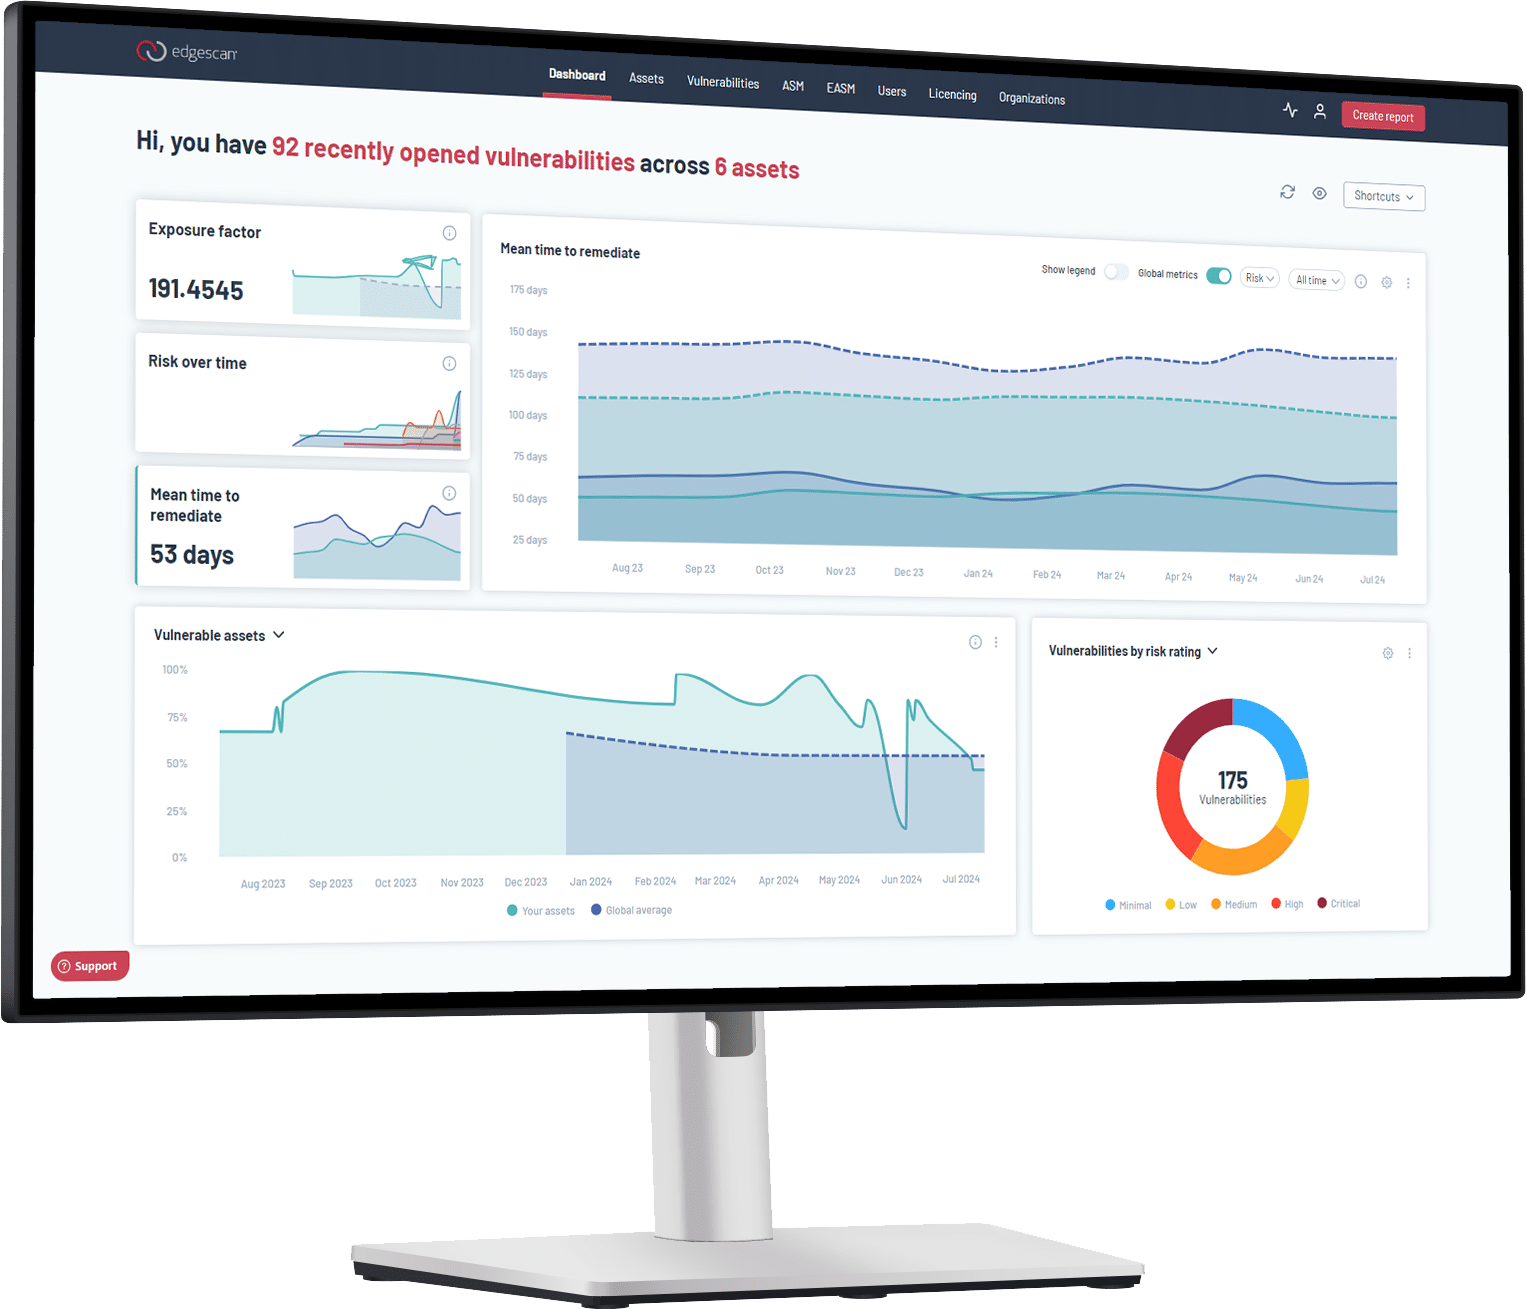
Edgescan Integration Add-on
1 – On Splunk homebase search Edgescan or click here
2 – Click Download
3 – From Splunk Web click on the gear beside ‘Apps’

4 – Select ‘Install app from file

5 – Locate the downloaded file and click Upload
6 – If Splunk Enterprise prompts you to restart, do so.
7 – Verify the add-on appears in the list of apps and add-ons. You can also find it on the server at $SPLUNK_HOME/etc/apps /<Name_of_add-on>.

Importing data into the Edgescan Integration
1 – Edgescan should be available in the lists of apps on the left hand side of your splunk enterprise homepage. Click on Edgescan.

2 – Under the inputs tab select Create New Input

3 – Select one of the options in the dropdown

4- Enter a name, interval, Index, Offset, Limit and X-Api-Token and click Add

a. Name – A name associated to the data, e.g Edgescan_vulnerabilities
b. Interval – time interval of input in seconds, e.g 900
c. Index – default
d. Offset – where server starts returning the rows. Default is 0.
e. Limit – how many results returned from the server. Default is 250.
f. X-Api-Token – API Key obtained from https://live.edgescan.com
5 – Under the ‘Search’ tab in the search bar there is the ability to search and filter through the results


